Mazda Rx8 Promod: A Drag Racing Masterpiece.
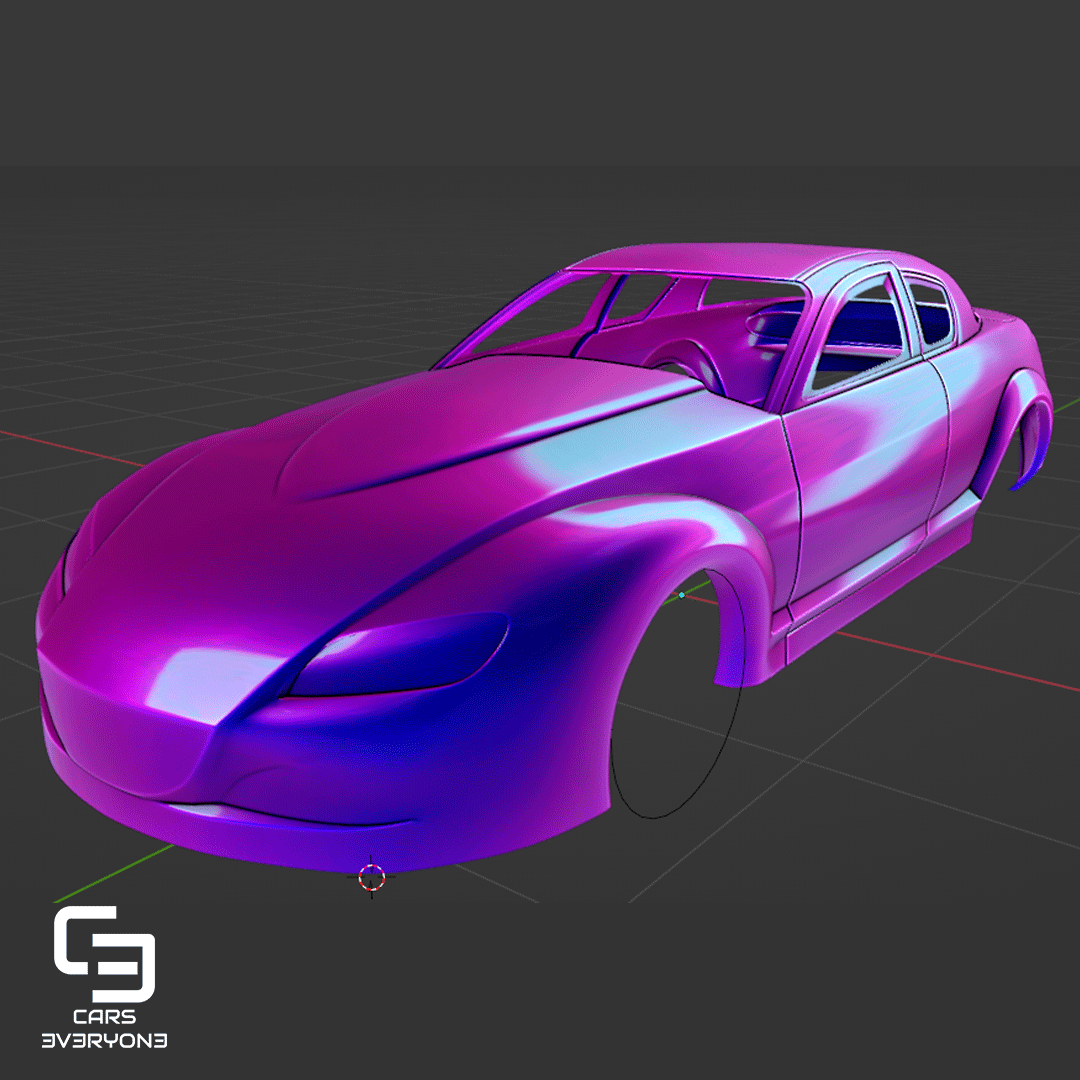
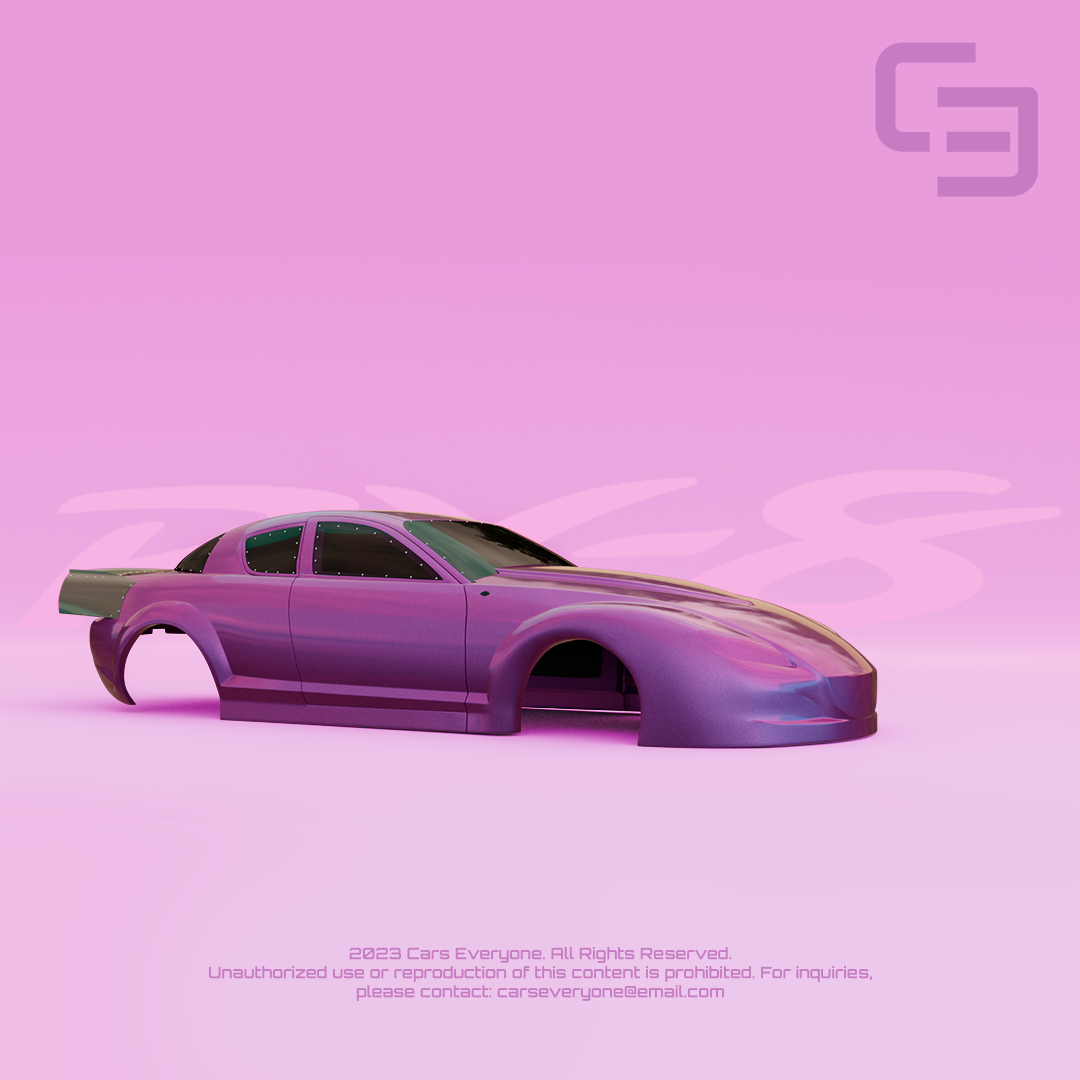
This week, I had the privilege of working on the body of a Mazda RX8 Promod for a drag racing enthusiast. While creating this model wasn't overly complex, thanks to my previous experience with similar body shapes, a closer look reveals the unique characteristics and elements that set each car apart. Let's dive into the details of this project and explore how I brought this Promod drag car to life.
Building from Scratch: A Familiar Challenge.
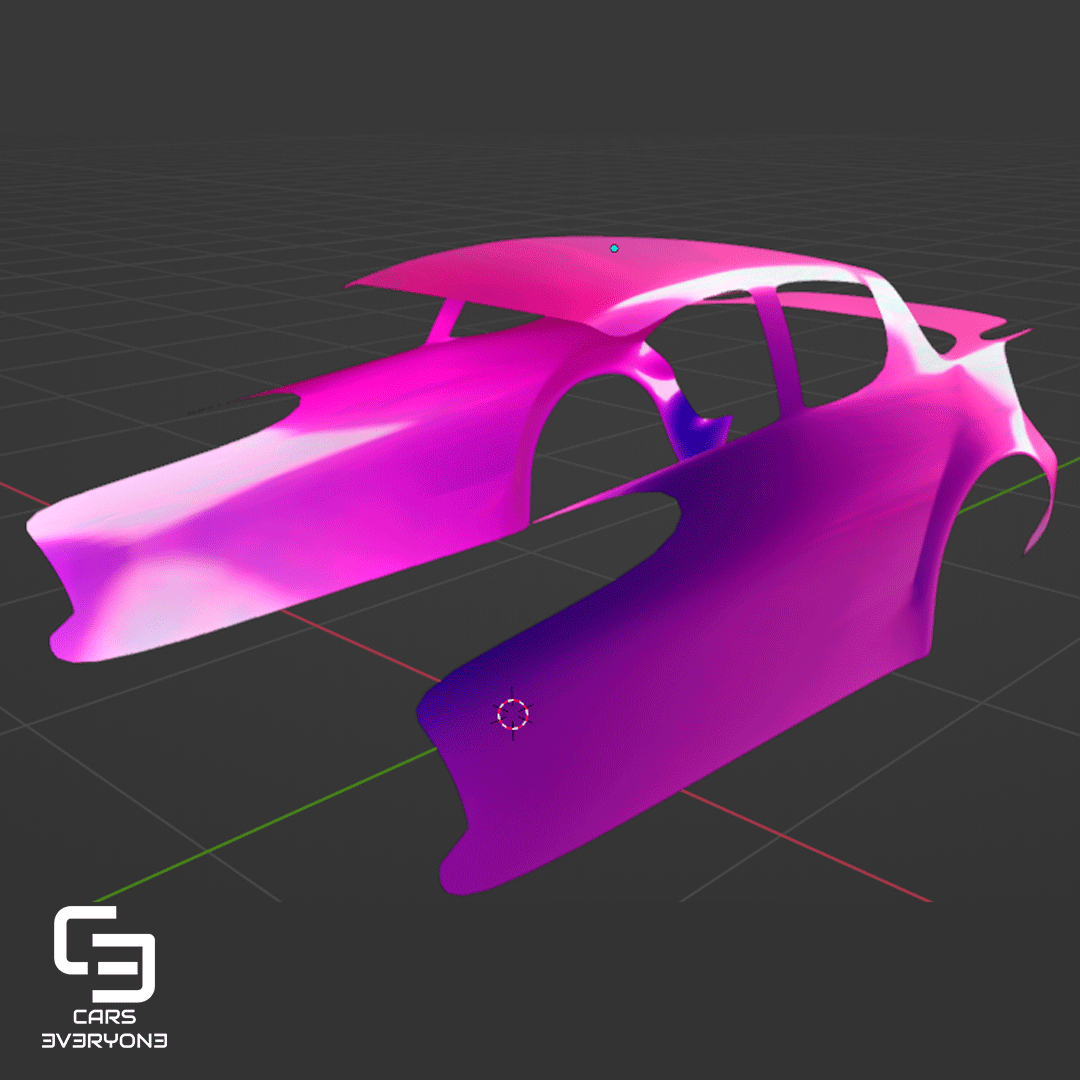
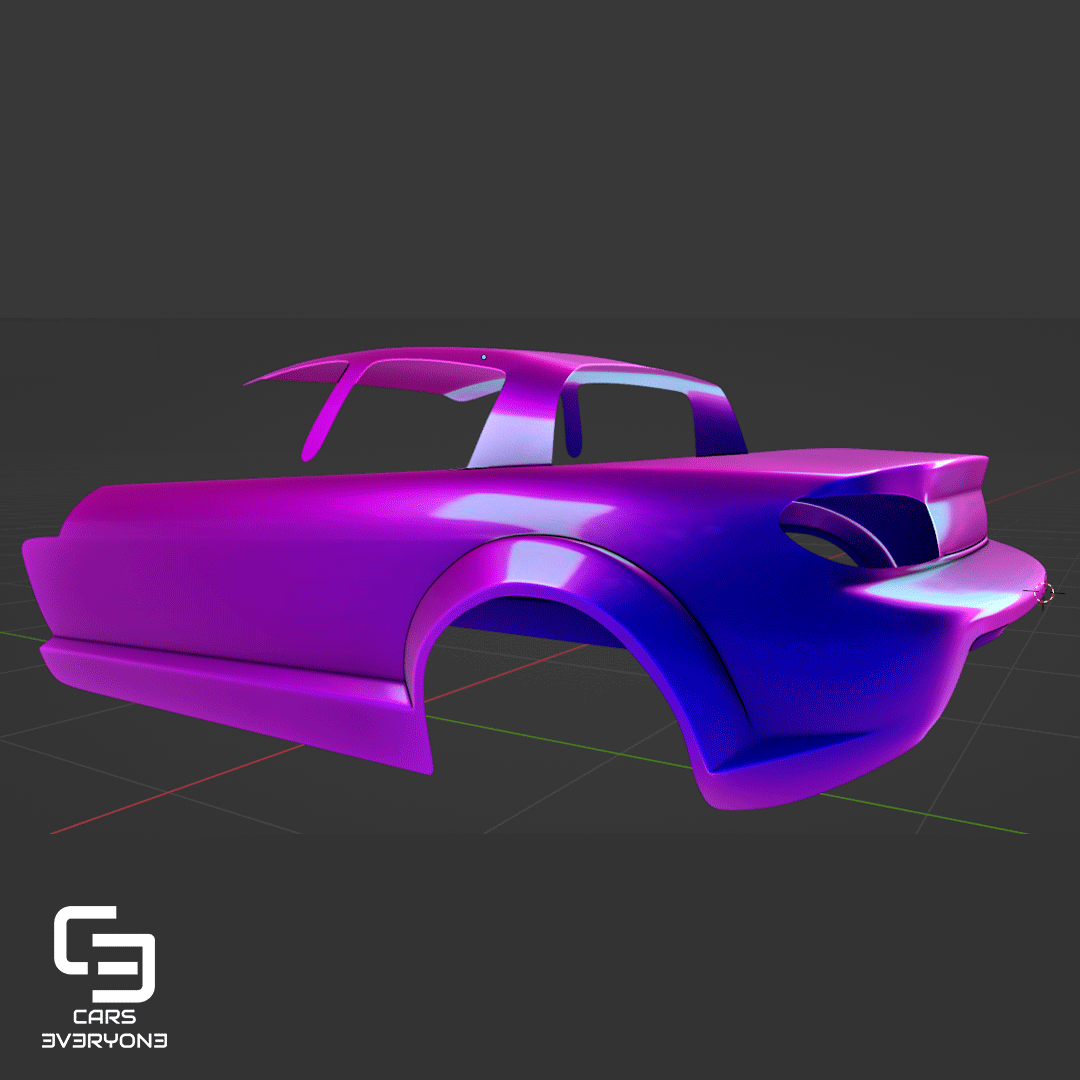
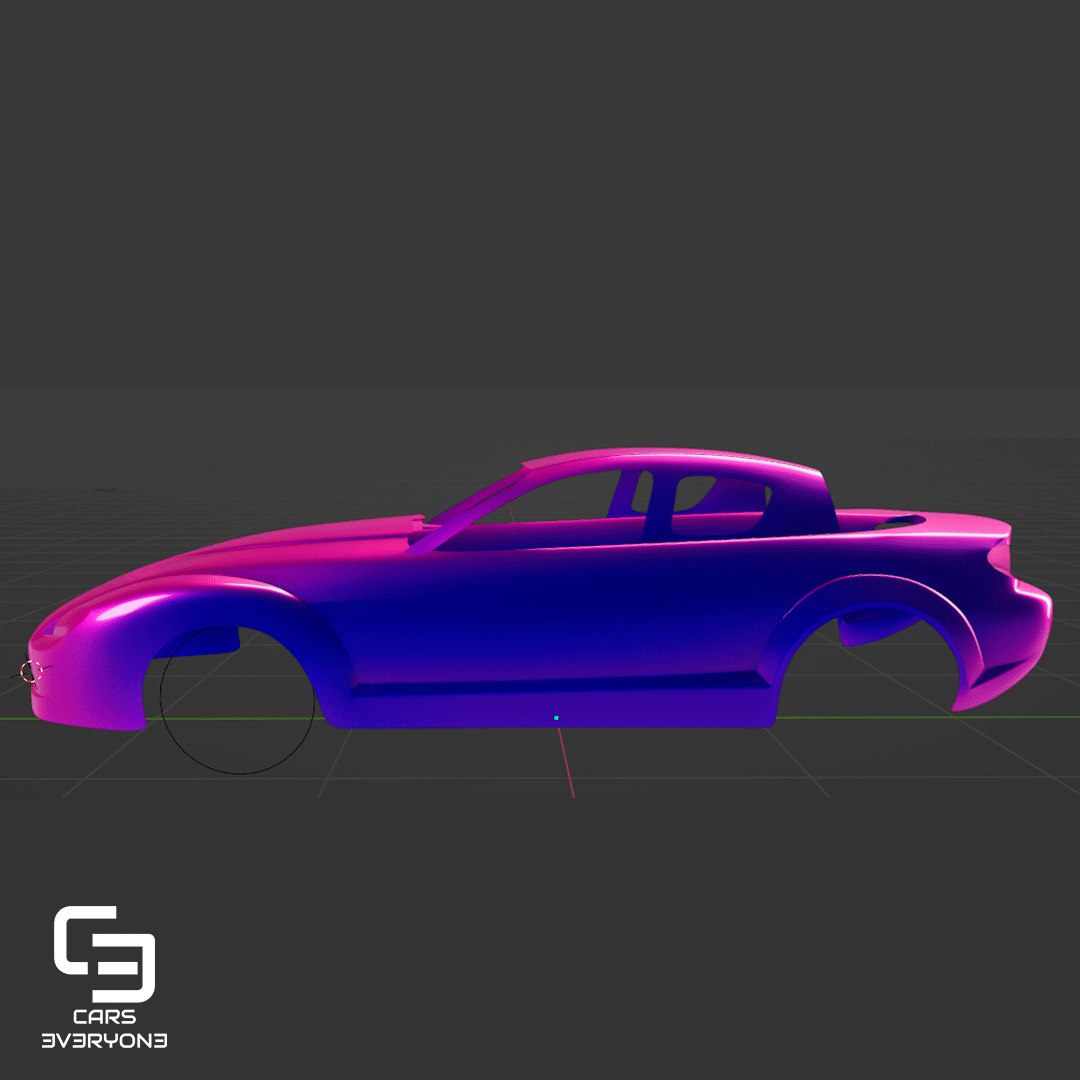
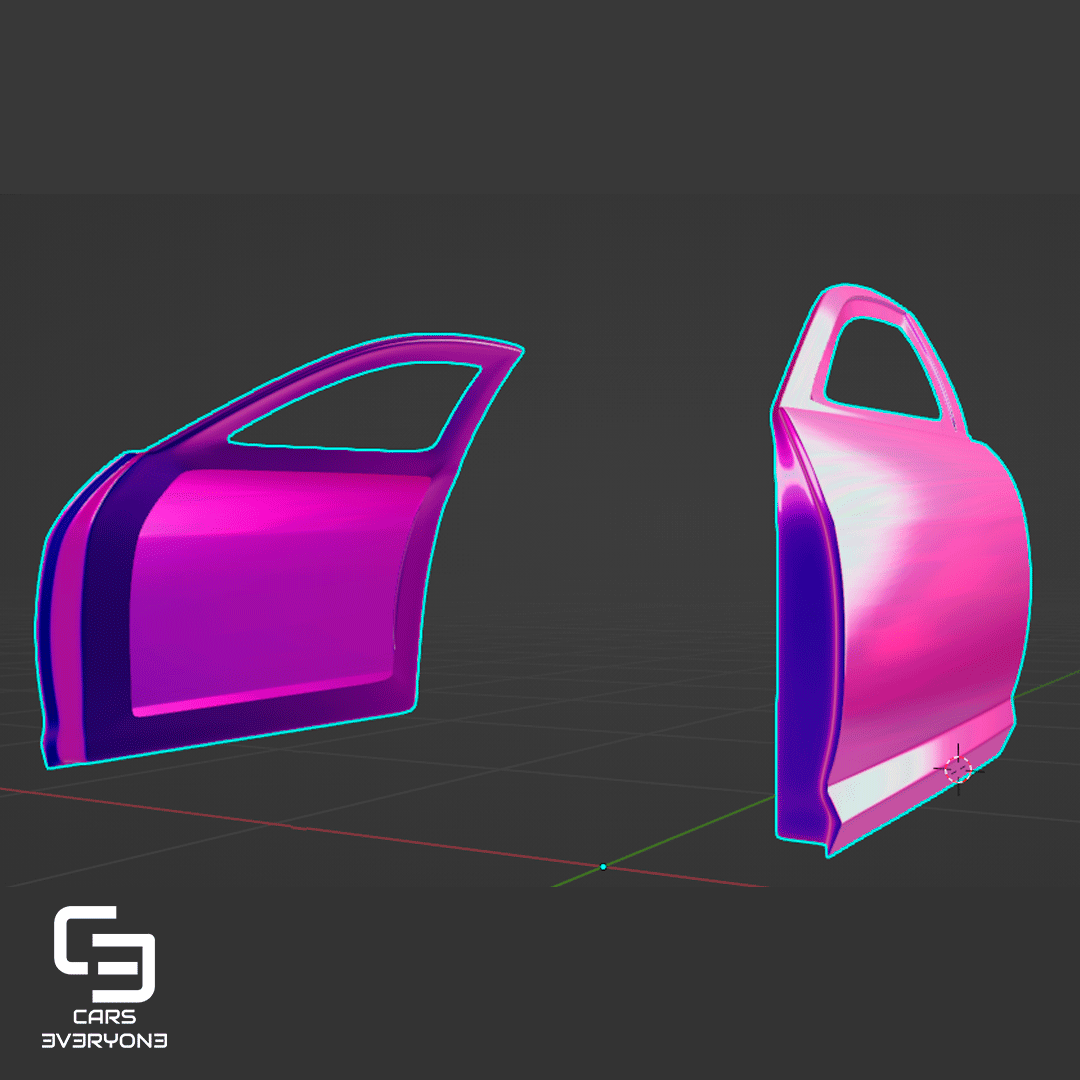
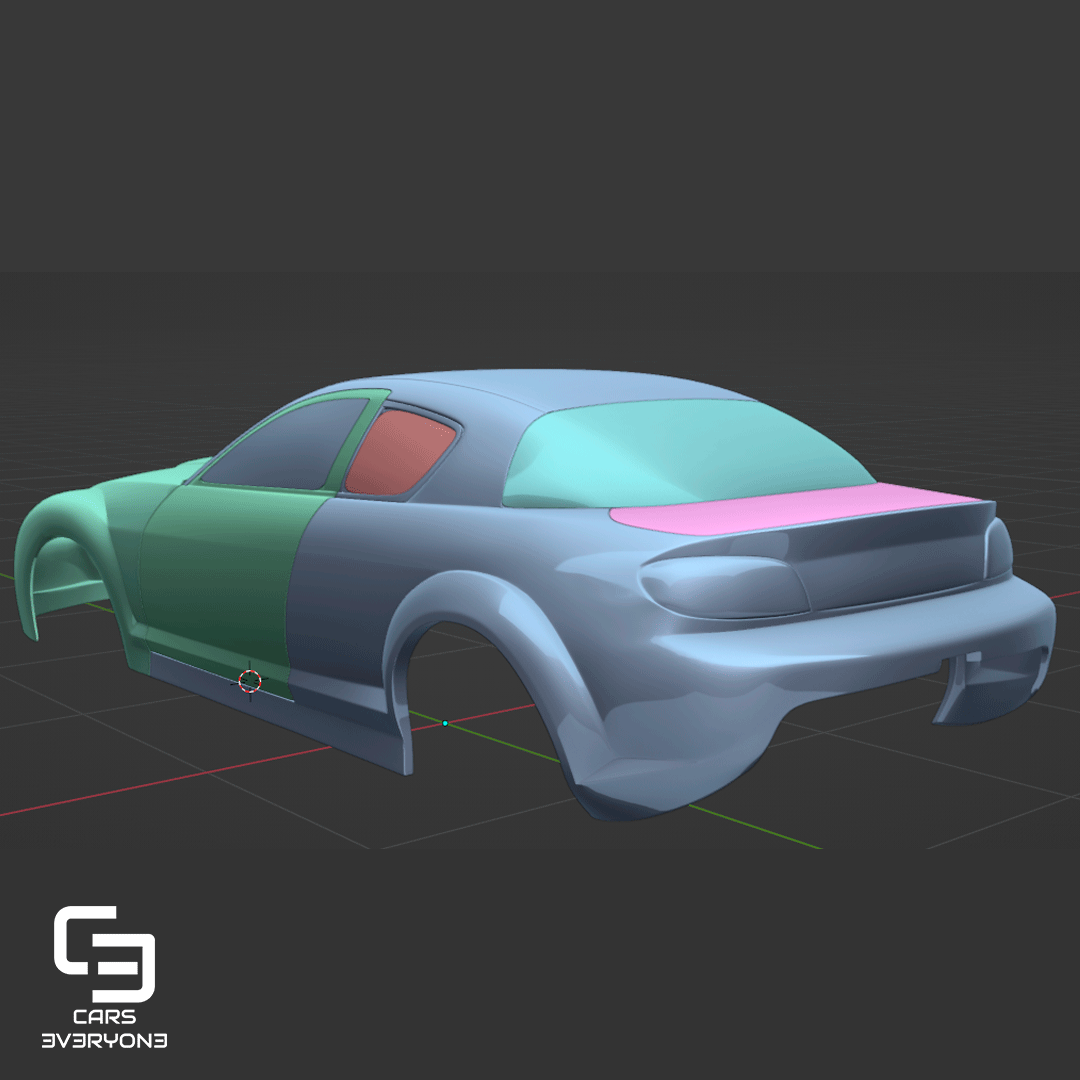
To start, I used the blueprints of the original car as my foundation. From there, I began crafting the 3D model, keeping in mind that both the street version and the Promod share certain features. However, the drag racing version needed a functional design. Drawing on my previous experience, I had a good idea of how to create this car from the ground up. I began with the roof, doors, and rear, establishing the core structure. This allowed me to focus on the finer details of the body, such as the rear quarter panels, trunk, and rear bumper. I paid meticulous attention to these areas, ensuring they met the high standards of a Promod drag car.
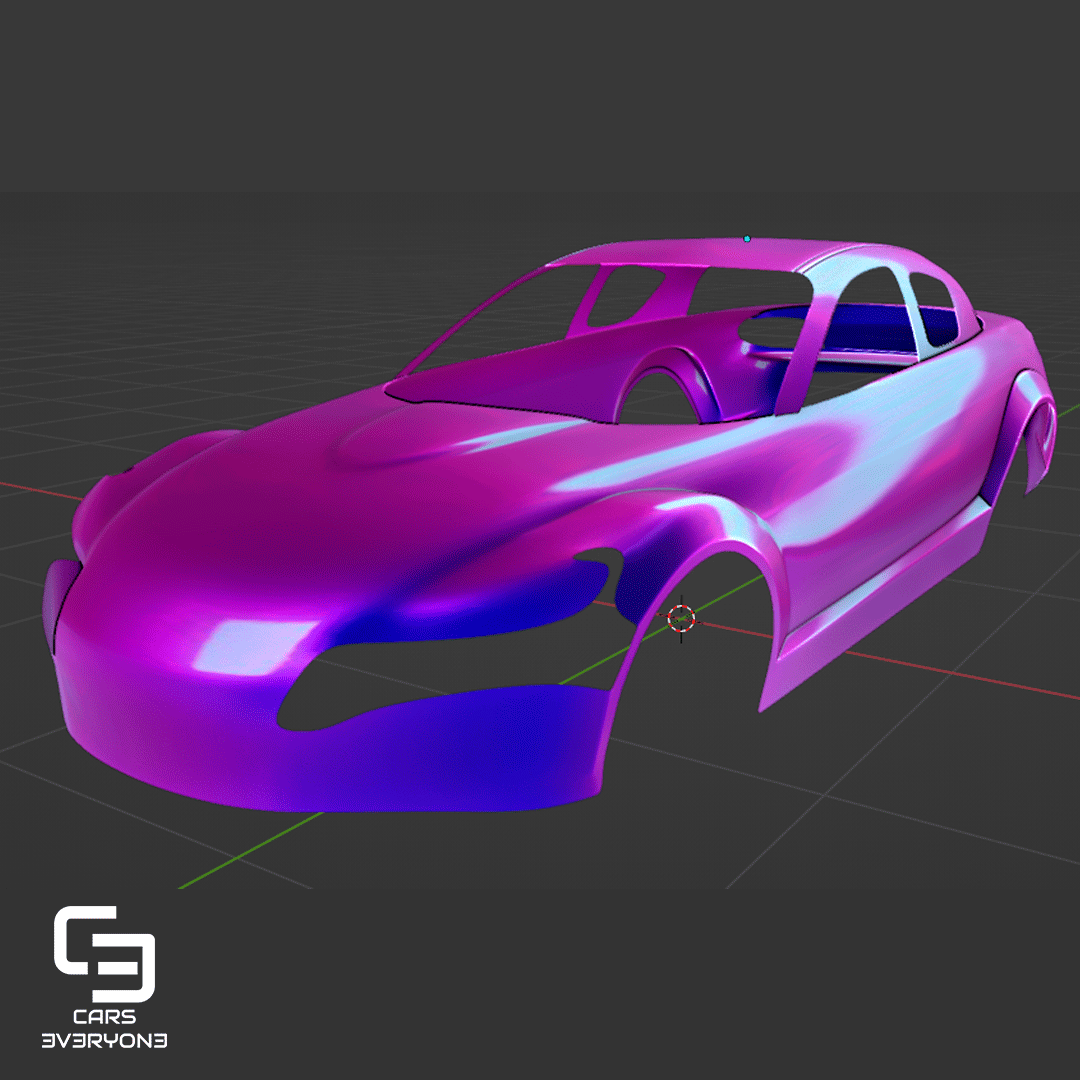
Balancing Functionality and Form: Crafting the Front End
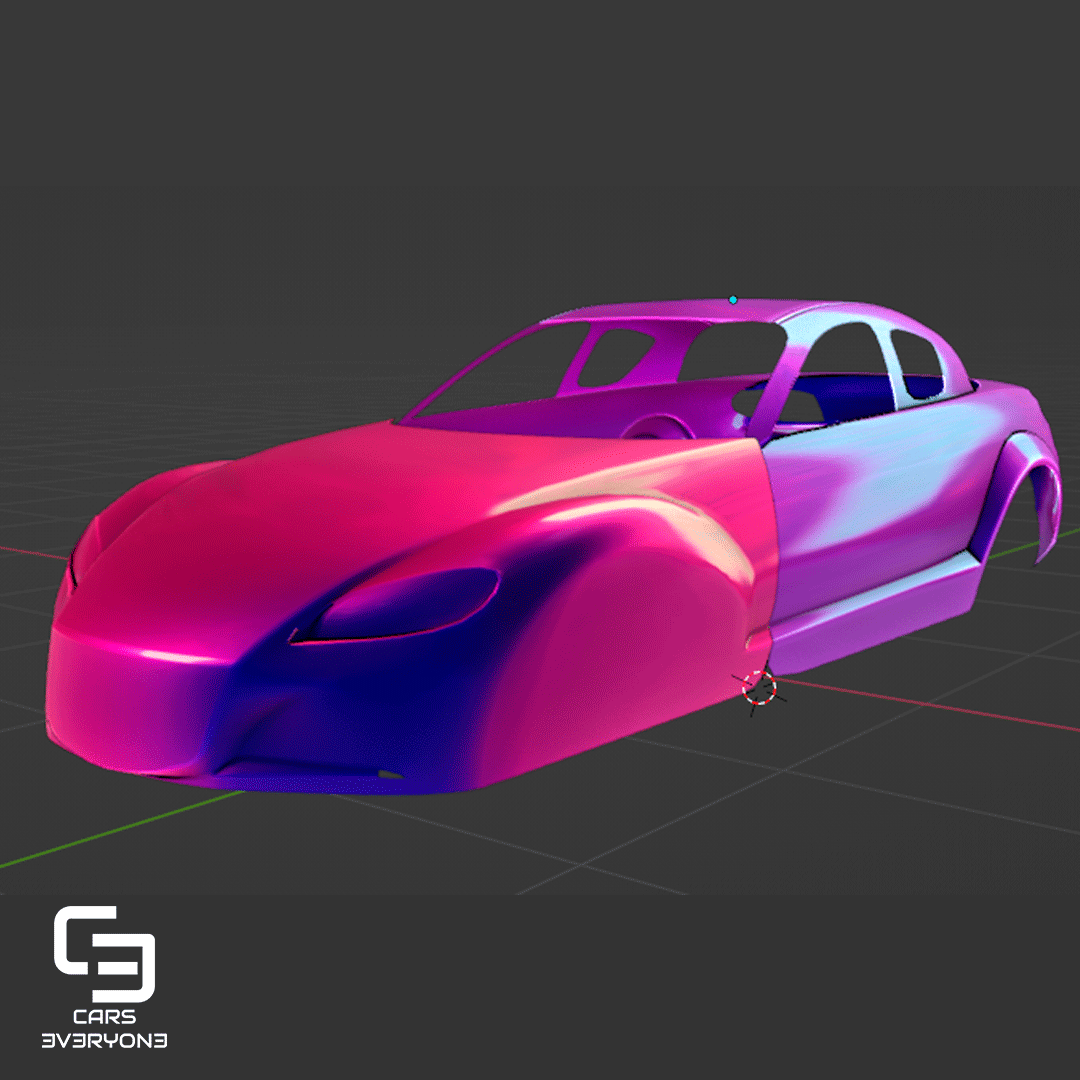
Moving on to the front end, I decided to follow the blueprints of the street version. This provided a sense of proportion and guided the placement of various elements, including lights, the grille, and air intakes. With the front structure in place, I applied a Blender modifier to simplify mesh deformation, saving valuable time while ensuring accuracy. With a strong foundation at the front, I continued fine-tuning the design, using reference photos to ensure it adhered to the Promod style.
The Devil's in the Details: Elevating Realism
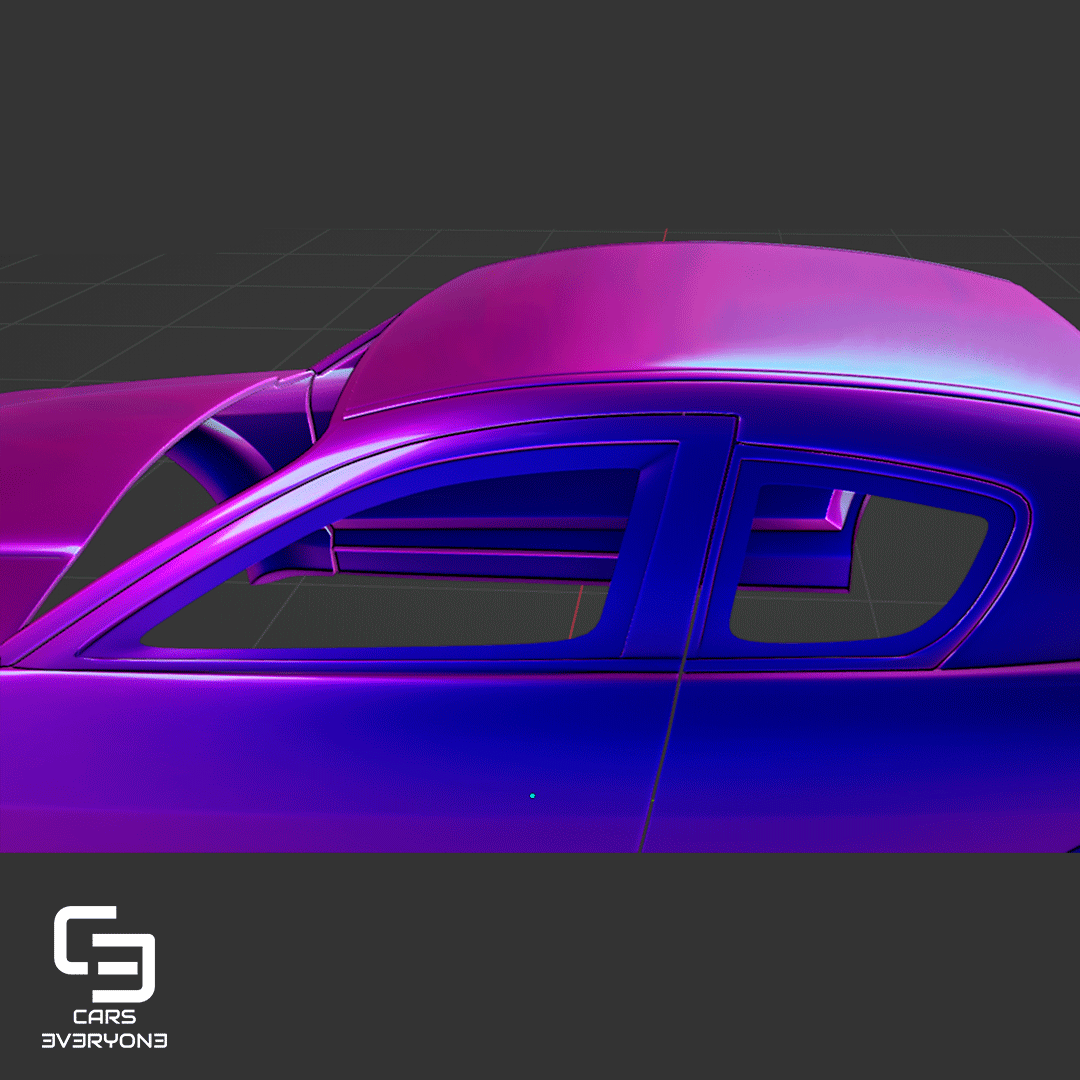
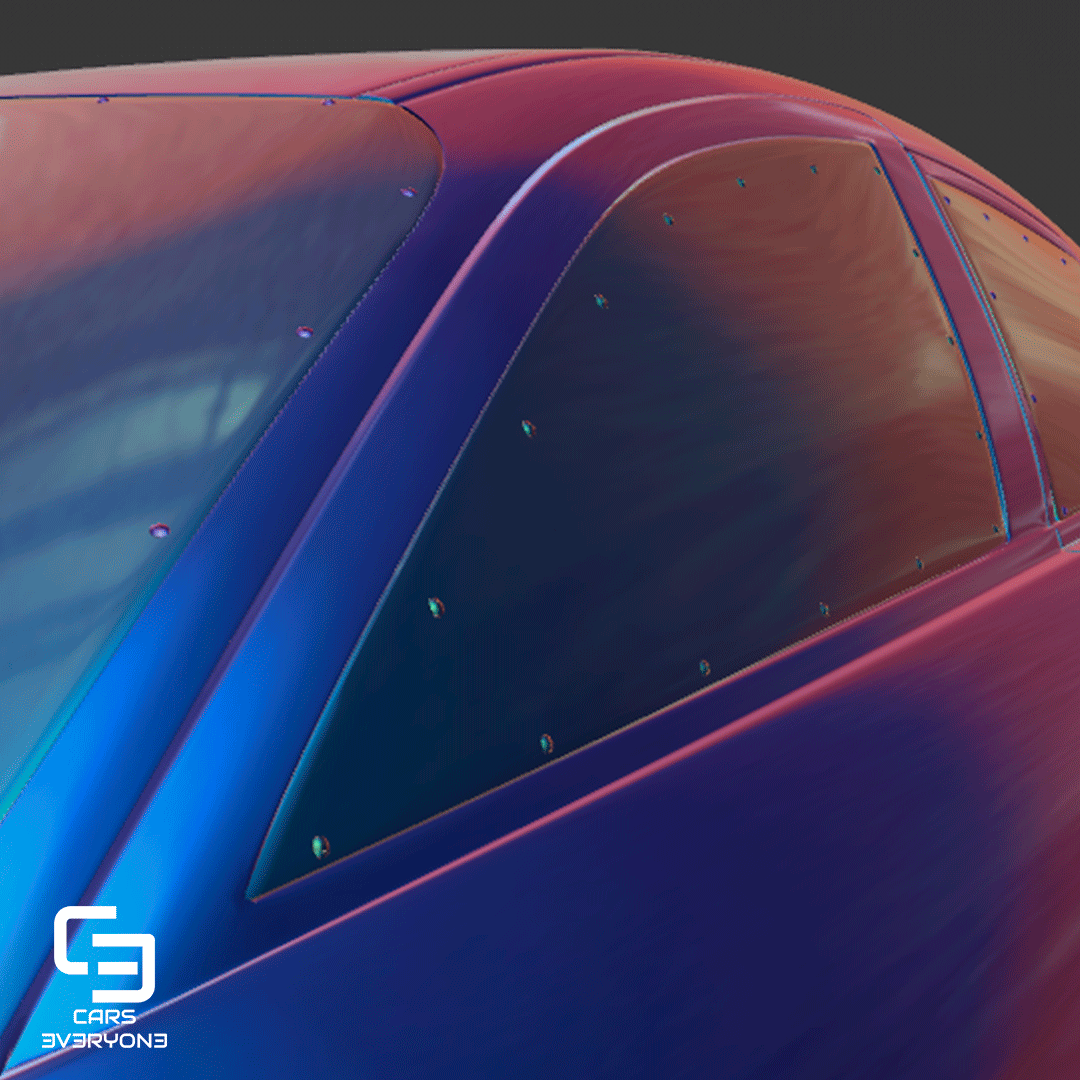
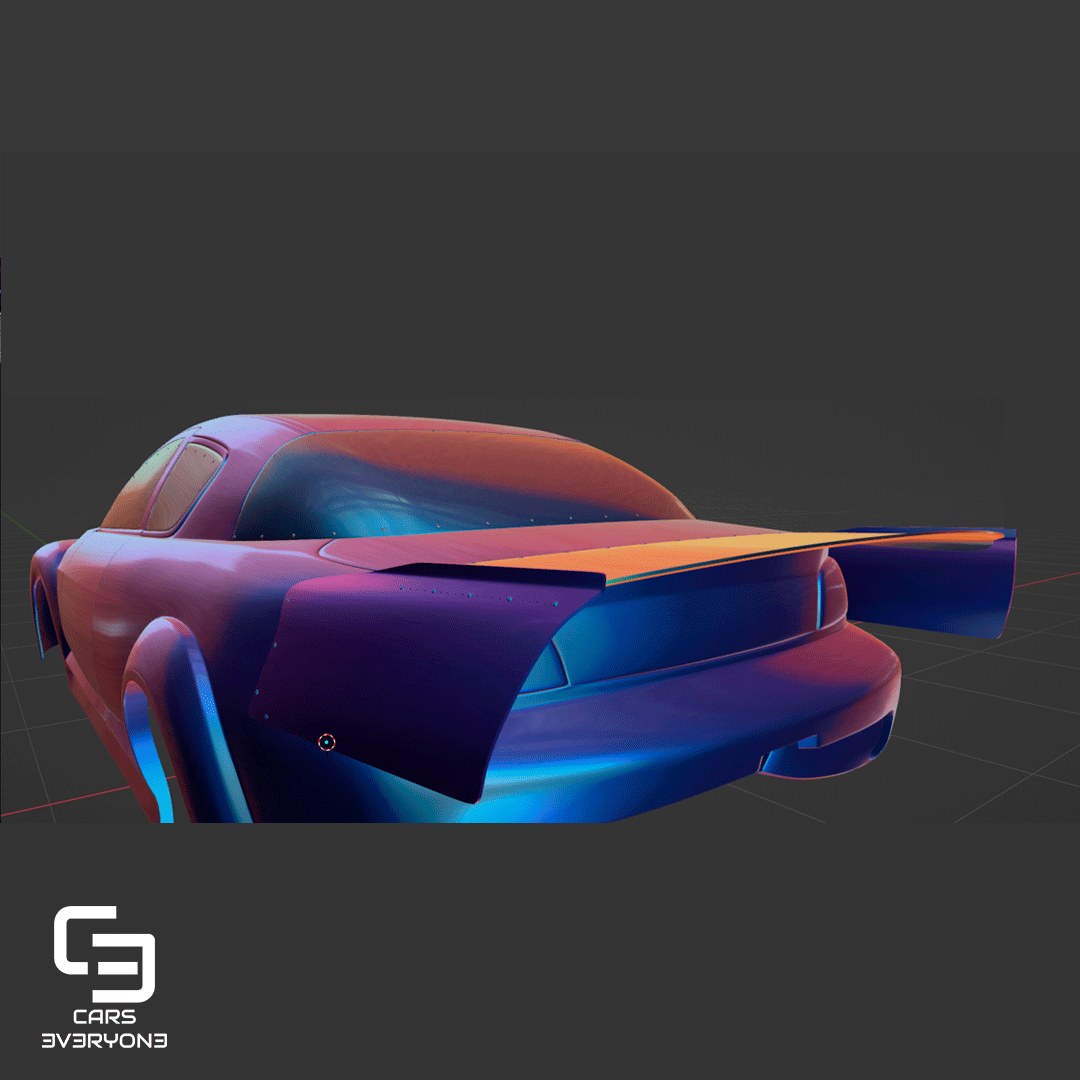
With the front end complete, attention shifted to the imperceptible yet crucial details that enhance the model's authenticity. I meticulously crafted the rear lights, the hood's bulge, window frames, and doors. Windows, the rear spoiler, and even the screws holding it in place were all added to bring the model to life.
Putting the Pieces Together: UV Mapping and Texture Creation
With every aspect of the model meticulously crafted, the final step was UV mapping. This process would enable the creation of a skin and textures to give the model its unique look and feel.
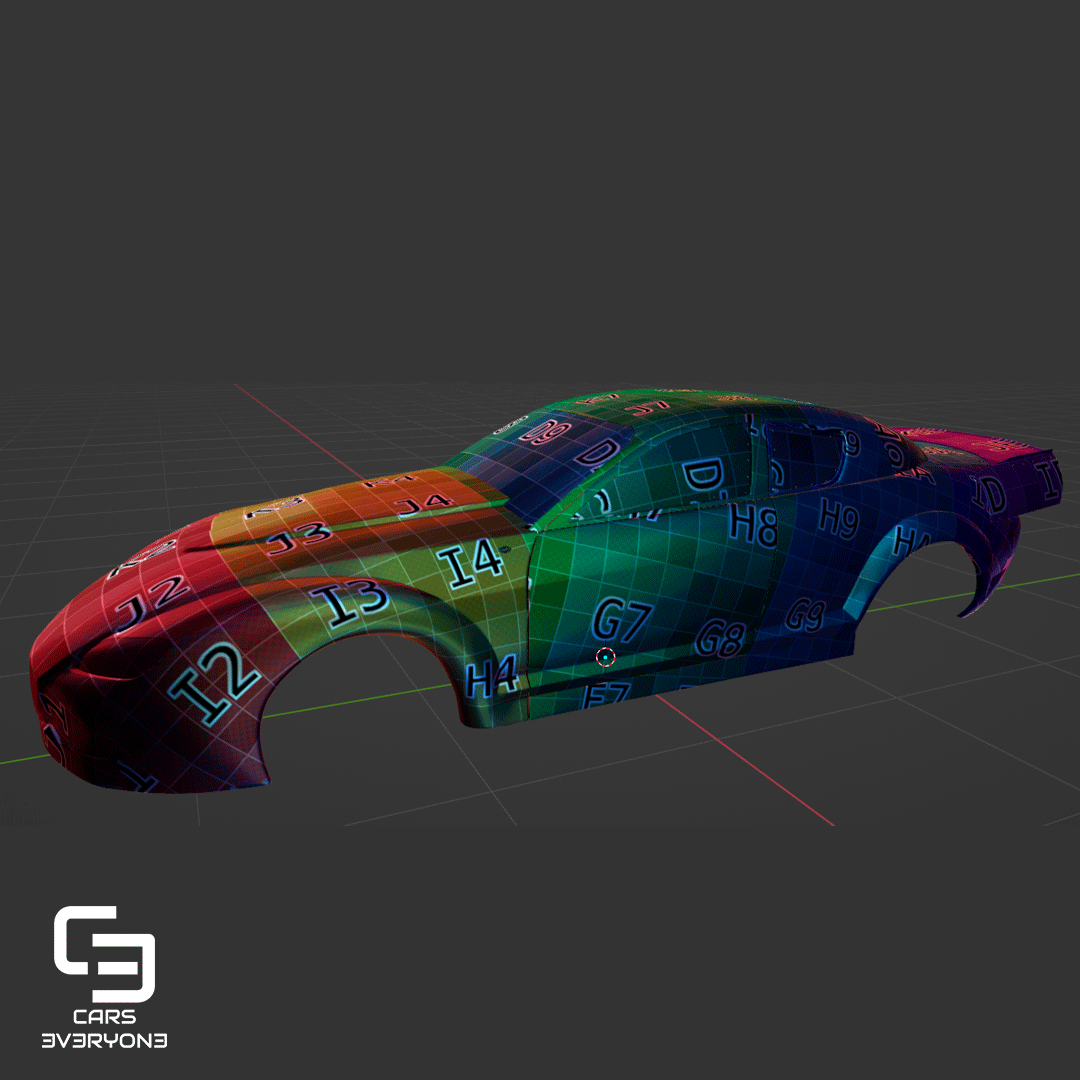
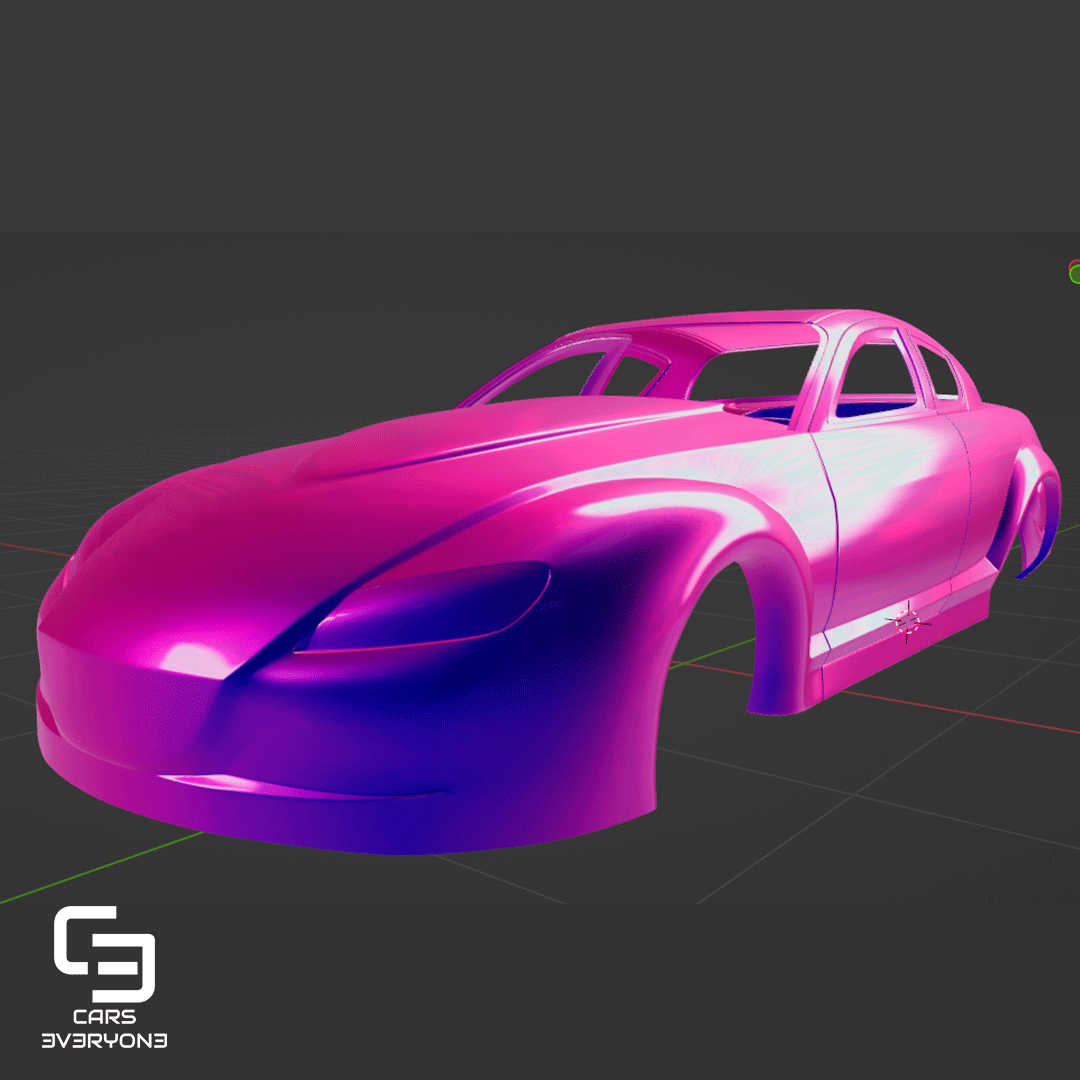
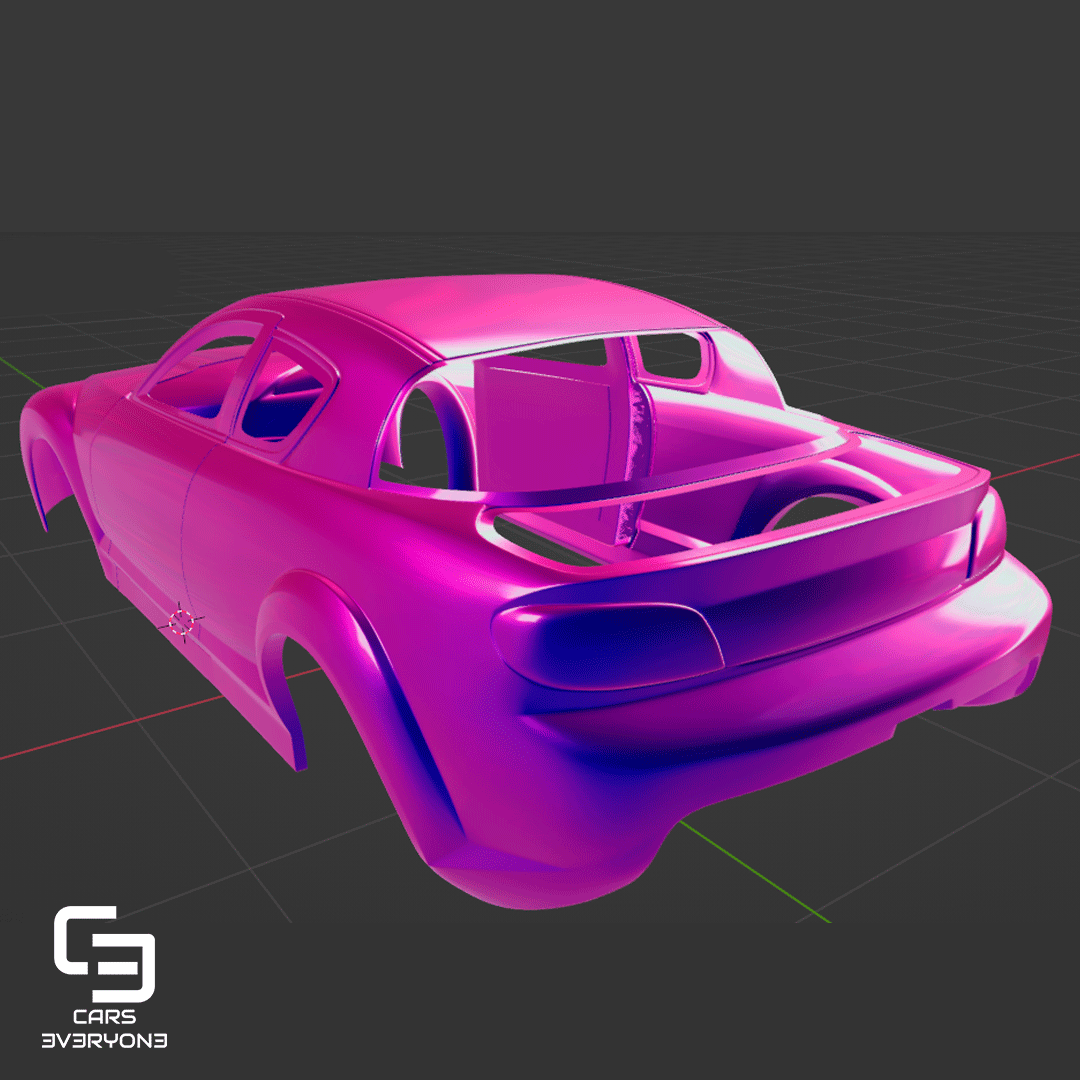
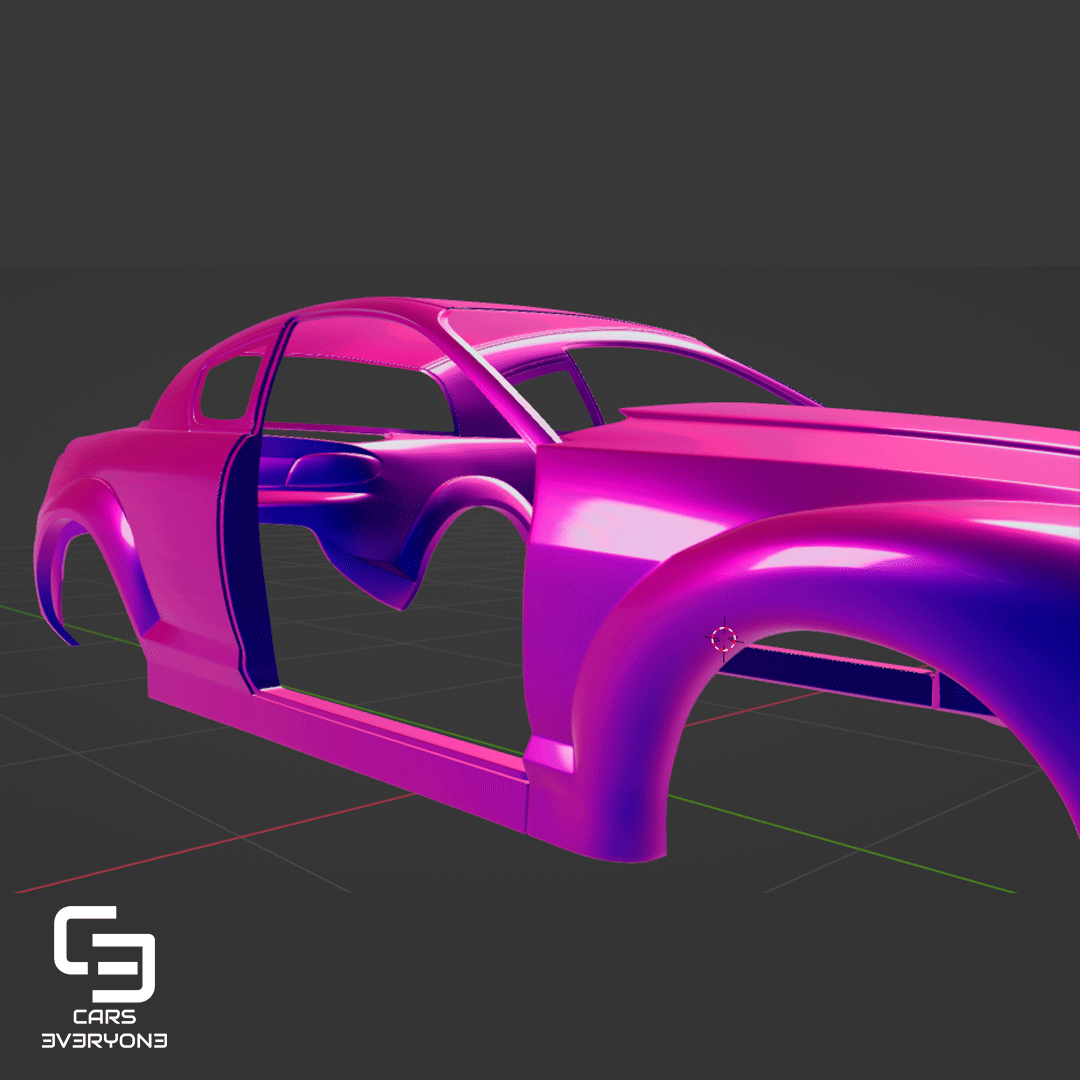
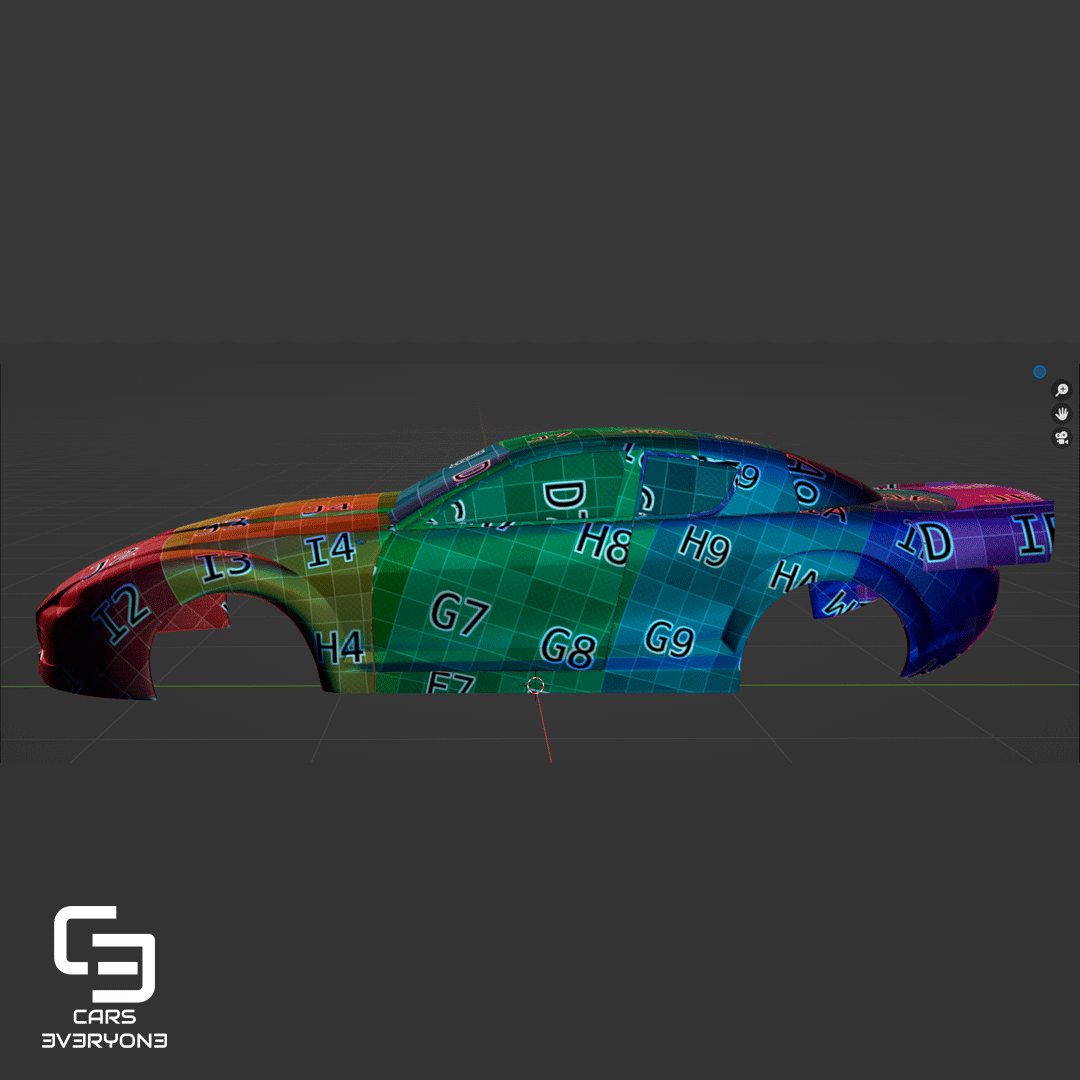
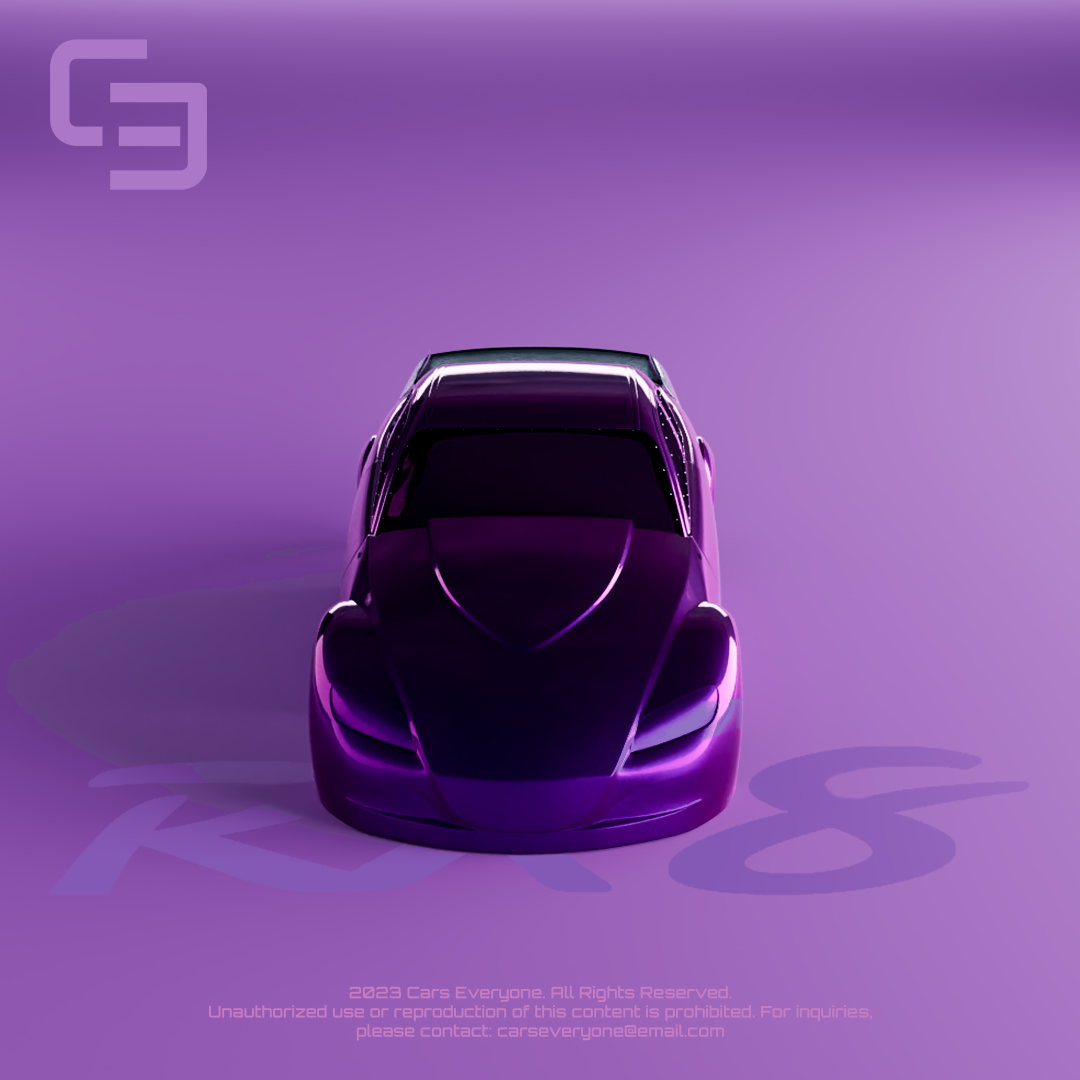
Stay tuned for a visual journey of this project, showcasing the design process and the stunning final results. As I prepare to present this in my portfolio,
Let's work together
Transform your concepts into visual realities. Let's create magic together in the world of 3D art! Contact me to get started. Rev up your concepts with visual splendor. Let's ignite a creative journey in the realm of 3D vehicle artistry! Reach out today to get started.
+57 315 3820520 carseveryone@gmail.com Bogotá, Colombia